How to Perform a Clarifying Wash
A clarifying wash removes product buildup, hard water minerals, and environmental residues that accumulate on the hair and scalp, restoring hair’s natural balance and responsiveness.
When to Perform a Clarifying Wash
A clarifying wash is recommended when hair feels heavy, greasy even after washing, dull, or unresponsive to styling products. It's also beneficial for removing chlorine buildup after swimming, hard water mineral deposits, or excessive product accumulation from gels, mousses, and dry shampoos. The frequency depends on individual styling habits, water quality, and product usage, but generally, once every 2–4 weeks is sufficient for most hair types. Those who use many styling products or have hard water may benefit from more frequent clarifying, while those with dry or color-treated hair may opt for less frequent washes.
Tools and Products Needed
Performing a clarifying wash requires specific products to effectively remove buildup without causing undue dryness.
Essential Products
- Clarifying Shampoo: This is the cornerstone of the clarifying process. Look for ingredients like chelating agents (e.g., EDTA, phytic acid) which bind to and remove mineral deposits, and strong surfactants (e.g., sodium laureth sulfate, ammonium lauryl sulfate) that efficiently lift oil and product residue. Avoid “sulfate-free” shampoos for clarifying, as their milder surfactants are often less effective for deep cleaning.
- Deep Conditioner or Hair Mask: Clarifying shampoos can strip some natural oils, so a rich, moisturizing conditioner or mask is essential to restore hydration and softness post-wash.
Optional Tools
- Scalp Massager: Can help loosen buildup and improve circulation during the shampooing phase.
- Microfiber Towel: Reduces friction and minimizes frizz when drying hair.
Step-by-Step Instructions
Follow these steps for an effective clarifying wash.
Step 1: Pre-Soak Hair
Thoroughly wet your hair with warm water. This helps to open the hair cuticle slightly, allowing the clarifying shampoo to penetrate more effectively and break down buildup.
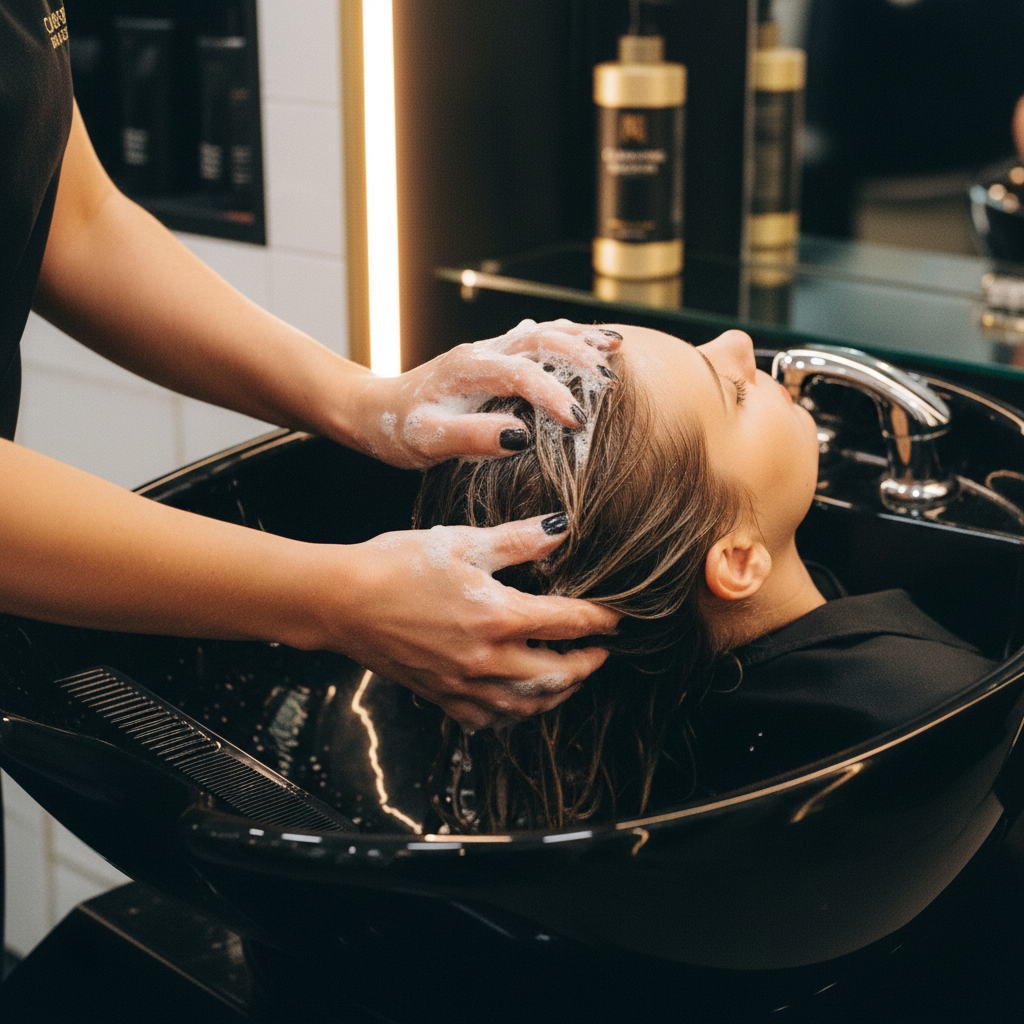
Step 2: Apply Clarifying Shampoo
Dispense a generous amount of clarifying shampoo into your palm. Apply it to your scalp and hair, focusing on areas where buildup is most prevalent. Work the shampoo into a rich lather, using your fingertips to gently scrub your scalp. Ensure even distribution from roots to ends.
Step 3: Lather and Rinse
Allow the shampoo to sit on your hair for 1–2 minutes, if product instructions permit, to allow the active ingredients time to work. Rinse thoroughly with warm water until all shampoo is removed and the water runs clear. You may notice your hair feels "squeaky clean" – this is normal and indicates successful removal of buildup.
Step 4: Repeat if Necessary
For very heavy buildup or if the hair still feels weighed down, a second application and rinse of clarifying shampoo may be beneficial. However, for most, one thorough wash is sufficient.
Step 5: Deep Condition
After rinsing the clarifying shampoo, apply a deep conditioner or hair mask. Focus on the mid-lengths and ends of your hair, avoiding the scalp unless recommended by the product. Leave the conditioner on for the time specified by the product (typically 5–15 minutes). This step is crucial for replenishing moisture and nutrients.
Step 6: Rinse with Cool Water
Rinse the conditioner out with cool or lukewarm water. Cool water helps to seal the hair cuticle, promoting shine and reducing frizz.
Pro Tips
- Focus on the Scalp: Most buildup originates on the scalp. Ensure you